How to clean a dehumidifier: filter, bucket and drain
Organize filter, bucket and drainage maintenance around your exact appliance manual without improvising repairs.

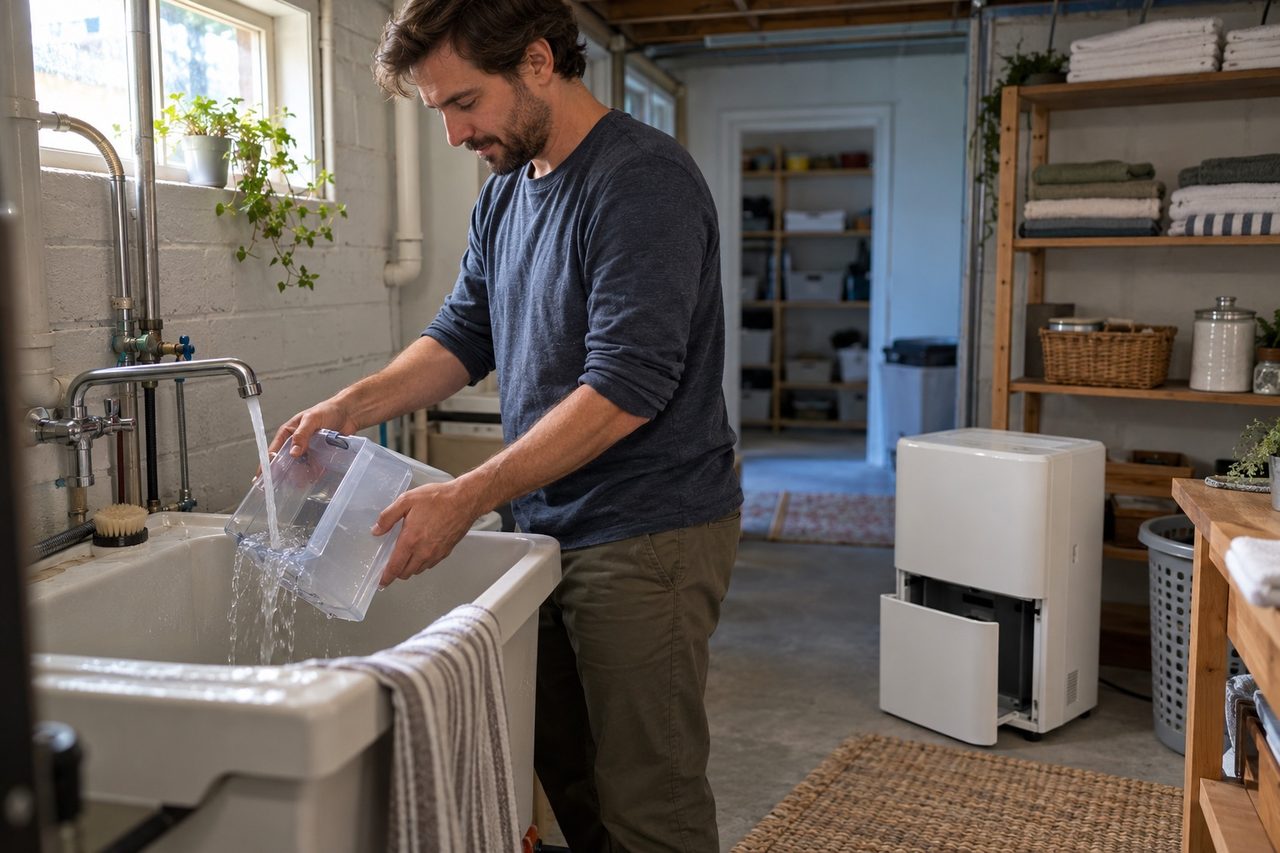
Unplug the unit, then rinse or vacuum the filter, wash the bucket with mild soap and check the drain hose or pump inlet for sludge, following the manual of your exact model. Do it every few weeks in the humid season.
Cleaning goes faster when the unit is easy to reach and you take the jobs one at a time. The filter, the bucket, the grille and any pump strainer can each have their own instructions. Find the maintenance section for your full model number; this guide helps you organize the work, it doesn't replace the manual.
Our rankings for this: most durable dehumidifiers and best drain accessories.
Affiliate disclosureAs an Amazon Associate we earn from qualifying purchases made through links on this page. Commissions never change our ratings.
Prepare for maintenance safely
Turn off and unplug the appliance as its manual directs before cleaning. Work in a dry area with room to handle the bucket and removable parts. Do not reach through standing water to disconnect a plug. If water has reached electrical components or a cord is damaged, stop ordinary cleaning and seek manufacturer or qualified service guidance.
Photograph the location of removable parts before taking them out if that helps you reassemble correctly. Do not remove cabinet panels or work on refrigeration components as part of a routine cleaning session. The GE manual in our sources explicitly discourages user servicing. Keep cleaning separate from diagnosing an electrical fault, a persistent error or a refrigerant-system problem.
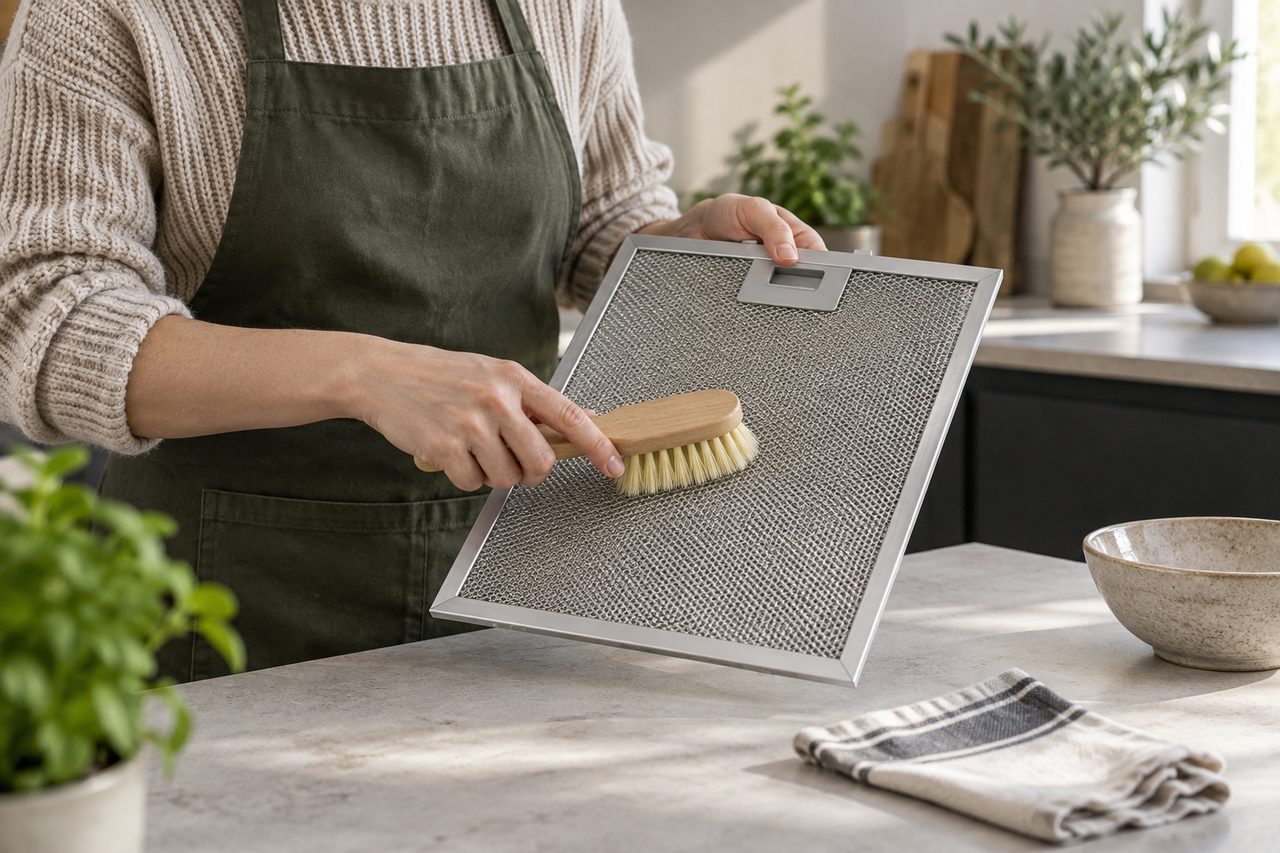
Use the filter instructions for that filter
Determine whether the filter is washable, replaceable or requires another method. A washable screen is not interchangeable with a disposable filter, and a replacement that looks similar may not be approved. Follow the stated removal direction and avoid forcing clips. If washing is permitted, let the part dry as instructed before reinstalling it.
The GE APEL50-family manual describes warm soapy water for its air filter, drying before replacement and no dishwasher use (GE manual). These are model-specific examples, not permission to wash every dehumidifier filter. Do not operate without the required filter. Read accessory compatibility before ordering replacement parts from a title that lists only a broad brand name.
Clean the bucket without disturbing its controls
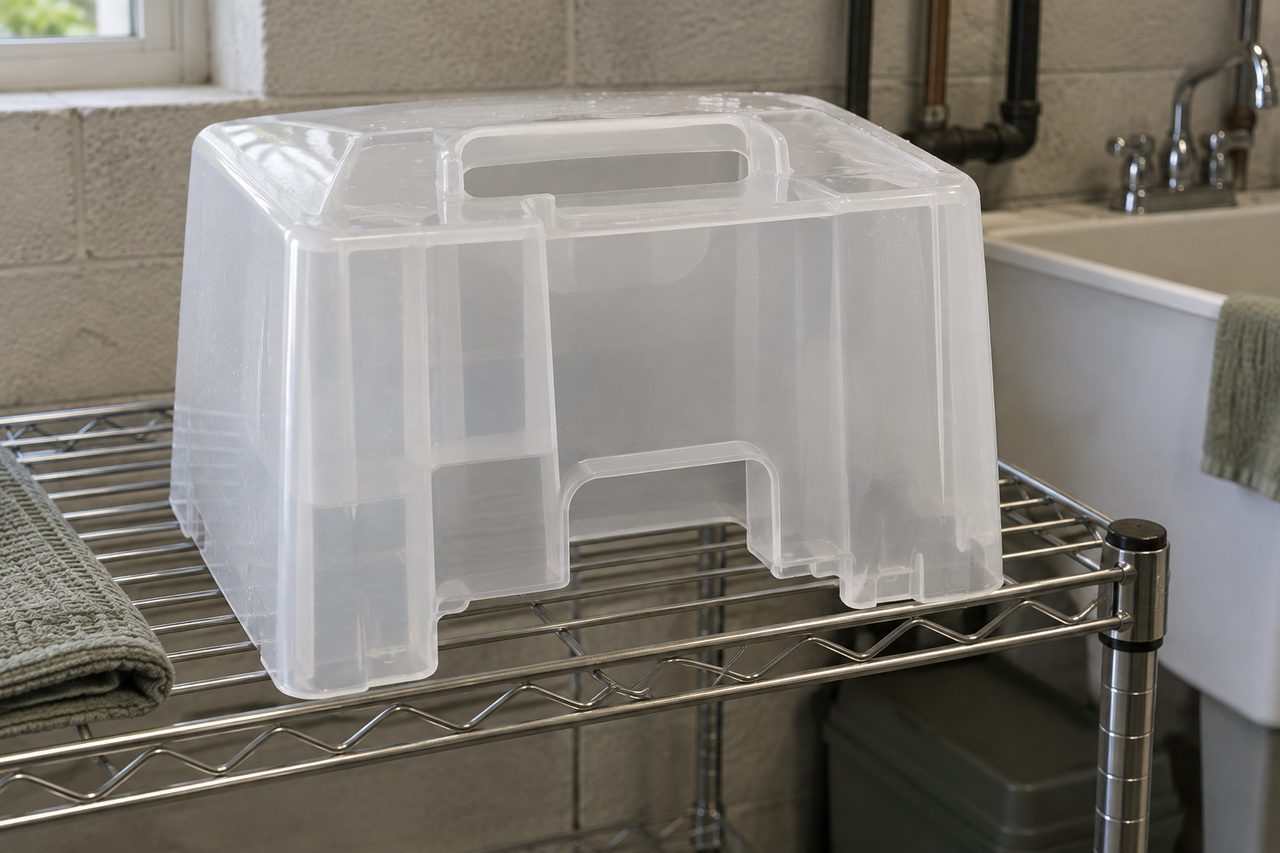
Empty collected water and clean the bucket using the method and products approved in the manual. Pay attention to covers, handles, floats and any foam piece that belongs to the level-sensing assembly. A component that resembles packing material may be part of the operating mechanism. Do not remove it unless the exact instructions tell you to.
The GE manual distinguishes bucket cleaning from filter cleaning and warns against dishwasher cleaning of its bucket. Avoid applying bleach, solvents or abrasive products simply because they are available nearby. Never mix cleaning chemicals. Rinse and reassemble as directed, then confirm that the bucket seats correctly. A misseated container can prevent operation even when the appliance has no underlying fault.
Inspect the drain and documented pump parts
Look along the hose for kinks, crushing, cracks, loosened connections and a blocked destination. Inspect fittings without changing the approved route or substituting an unverified tube. If the model has a serviceable pump strainer, follow the exact removal and cleaning sequence. Do not assume every built-in pump has the same user-serviceable parts.
Our drainage guide explains the different failure points of gravity and pump arrangements. When reconnecting, verify both mechanical security and the correct operating mode. Observe normal drainage after maintenance before leaving the setup. A cleaned air filter does not resolve a blocked water outlet, and a flowing hose does not establish that the air path is clear.
| Part | GE APEL50-family example or rule | Avoid |
|---|---|---|
| Air filter | Warm soapy water, dry before replacing | Dishwasher; running without the filter |
| Bucket | Cleaned separately from the filter | Dishwasher; removing float or foam parts |
| Hose | Inspect for kinks, crushing, cracks | Unverified replacement tubing |
| Pump strainer | Only if the exact manual lists it | Assuming every pump is serviceable |
Set a routine based on use and the manual
Use the manufacturer's interval as the baseline and inspect more often if its instructions call for that under dusty conditions. A timer reminder records operation time; it does not inspect the filter for you. Record the date, tasks completed and any damaged part or recurring symptom. This creates a useful maintenance history for support or warranty discussions.
Before seasonal storage, follow the appliance's draining, cleaning and drying instructions and keep approved tubing with the unit. Do not store it with a full bucket and expect the next startup to be routine. Read placement if access makes maintenance awkward, and troubleshooting if clean filters and clear drainage do not resolve the problem. Avoid buying a new appliance before checking these ordinary operating constraints.
Keep a maintenance record that supports the next decision
A useful record can be short:
- Date and operating conditions
- Filter condition
- Bucket condition
- Drain inspection
- Any unresolved symptom
Add the approved replacement part number if something was replaced. Keep the manual revision or link alongside the model identifier so a future owner or service contact can understand which instructions you followed. Do not reset a reminder light and record cleaning as complete when the task has not been done. Likewise, distinguish an inspection from washing or replacement. These details prevent a recurring problem from being dismissed on the assumption that every maintenance step was performed recently. If you find damage, document it and follow manufacturer replacement or service advice. When the appliance returns to operation, check that removable parts are installed correctly and observe normal drainage. A maintenance session can accidentally leave a bucket unseated or tubing displaced. Verify the outcome before changing the humidity setting in response to a failure to restart. Careful reassembly and brief observation are part of the task, not an optional extra after cleaning. A record also makes it easier to hand maintenance responsibilities to another household member.
Our rated picks
The three best-rated models of our best basement dehumidifiers ranking, from the buyer review record and the listed specs.


Product images: Amazon listings
Frequently asked questions
How often should I clean a dehumidifier filter?
Every two to four weeks while it runs a lot, or as the manual says. A clogged filter cuts airflow and makes the compressor work harder.
Can I clean a dehumidifier with vinegar?
Many owners use diluted white vinegar for the bucket, but check the manual first; some makers ask for mild soap and water only, and the electrical parts must stay dry.
Why does my dehumidifier smell musty?
Usually standing water in the bucket or tray, or a dirty filter. Clean both, let them dry, and keep the drain flowing.
References
Independent sources for facts stated in this guide, also linked where the guide states them.
- GE owner's manual APEL50 / APEW50 / APER50 (49-5000427) · a manufacturer manual as an example: garden-hose drain, internal pump, no extension cords, filter care