How to choose a basement dehumidifier: start with the room
A practical buying sequence covering moisture sources, capacity, temperature, drainage and model verification.

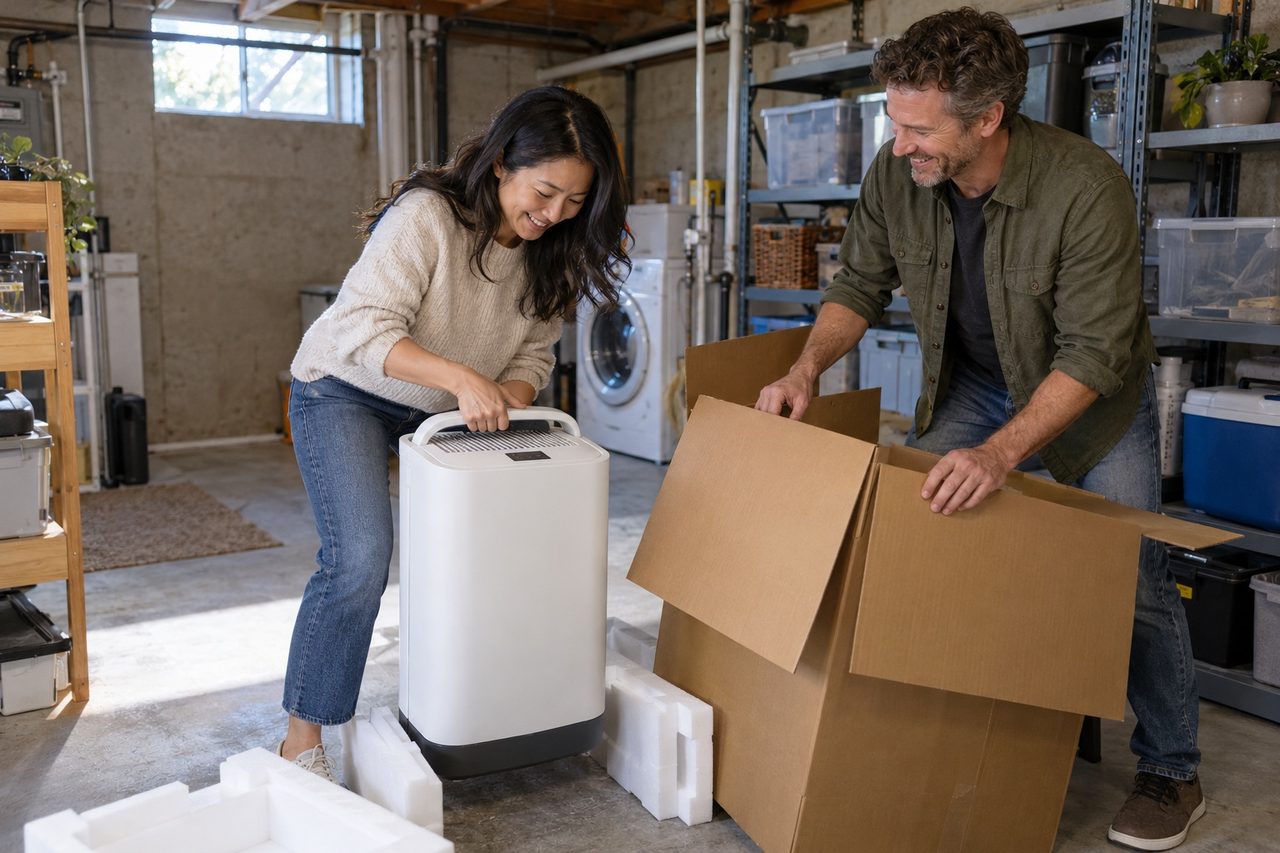
Pick the capacity from your measured humidity and the floor area that shares air, then decide where the water goes (bucket, gravity hose or pump) and check the coldest temperature the unit will see. Brand and extras come last.
A dehumidifier dries the air in a basement. It doesn't fix a crack that lets water in. So before you compare coverage claims, work out which problem you actually have: damp air, water coming in, or both. Then write a short list (floor area, temperature, where the water will go) so the nice-to-have features don't distract you from the limits of your space.
Our rankings for this: best basement dehumidifiers, best 50 pint dehumidifiers and best dehumidifiers with pump.
Affiliate disclosureAs an Amazon Associate we earn from qualifying purchases made through links on this page. Commissions never change our ratings.
Describe the problem before choosing equipment
Walk through the basement after rain and again during ordinary weather. Record where you notice dampness, whether it is concentrated at one wall, and whether water appears around a window, pipe or floor joint. Take photographs for your own records. You are collecting observations, not diagnosing the building from a smell alone. A dehumidifier does not repair a leaking pipe or divert rainwater away from a foundation.
The EPA moisture guide puts moisture control alongside correction of the water problem (EPA). If your notes show recurring seepage, give that repair its own task and budget. Read our damp-basement troubleshooting guide before treating a larger appliance as the default solution. Do not enter standing water to adjust electrical equipment.
Measure the conditions that influence selection
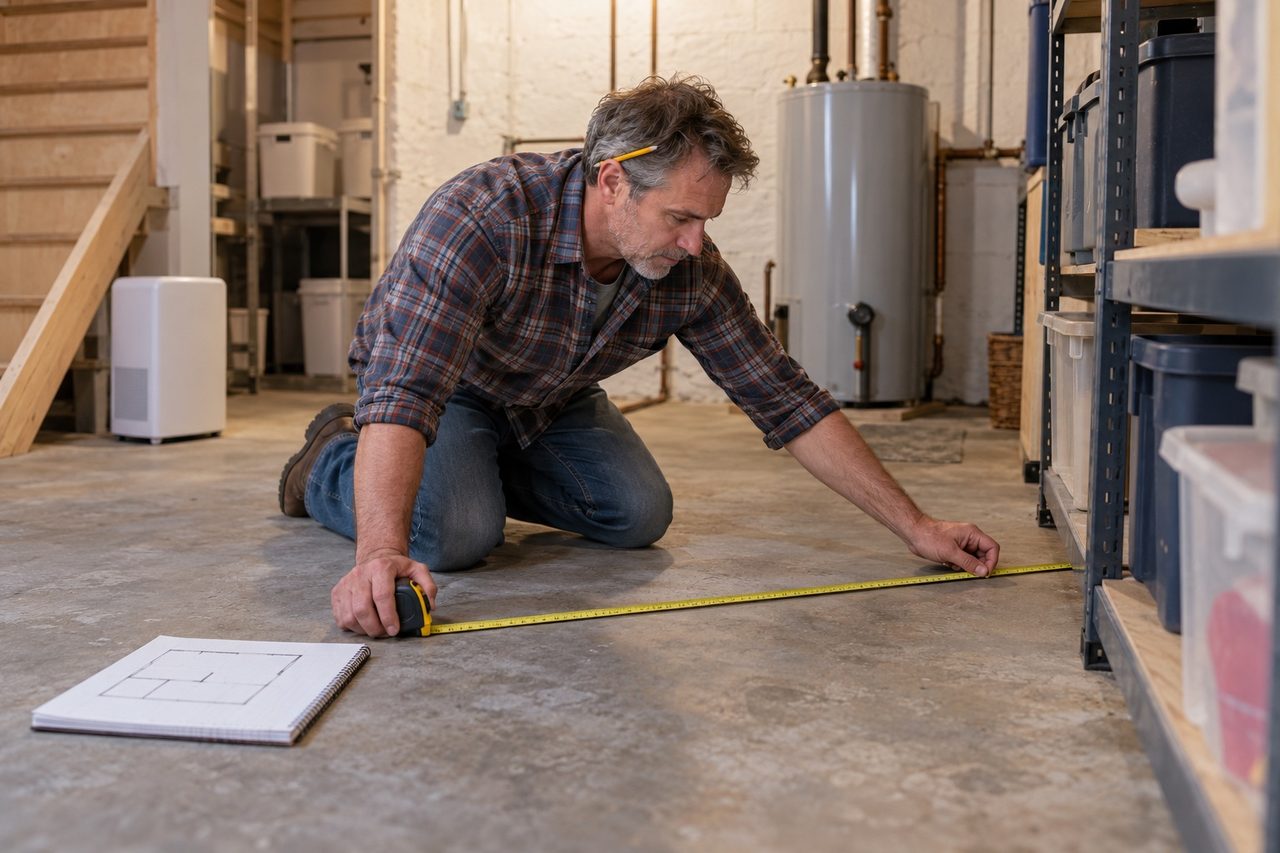
Record relative humidity and temperature at representative locations. A single reading beside the warm discharge grille tells you little about an enclosed storage room. Note the time, weather, whether the laundry is running and whether exterior doors are open. Repeat the observations so you can distinguish an isolated spike from a persistent pattern.
Measure the connected floor area and sketch partitions. Include the rooms you actually expect one appliance to serve, rather than automatically using the entire house area. Closed doors and restricted circulation matter. The humidity-target guide explains how to use the readings without chasing every display fluctuation. Your purchase notes should contain area, recurring humidity range and the coolest temperature you expect during operation.
Compare capacity on a consistent basis
Water-removal capacity is normally expressed in pints per day; bucket volume is a separate specification. A large bucket can make emptying less frequent without making the refrigeration system remove more water per day. Keep those two lines separate in your notes, particularly when a listing puts both numbers close together.
Use the sizing guide and our selection tool to identify a broad starting range. ENERGY STAR bases its guidance on both floor area and moisture conditions (ENERGY STAR). Avoid comparing an old capacity figure with a newer figure unless the rating basis is clear. Floor-coverage claims are a reason to investigate a listing, not proof that it will control your particular basement.
If efficiency is part of your shortlist, use our ENERGY STAR verification guide to match the full model identifier before comparing IEF values. A badge in a listing title is not enough.
| Item | What to record |
|---|---|
| Problem | Airborne moisture, active water entry, or both |
| Conditions | Relative humidity, temperature, connected floor area |
| Capacity | Pints per day, kept separate from bucket volume |
| Water disposal | Bucket, gravity hose or documented pump |
| Exact model | Temperature range, clearances, drain diagram, electrical |
Choose the water-disposal method early
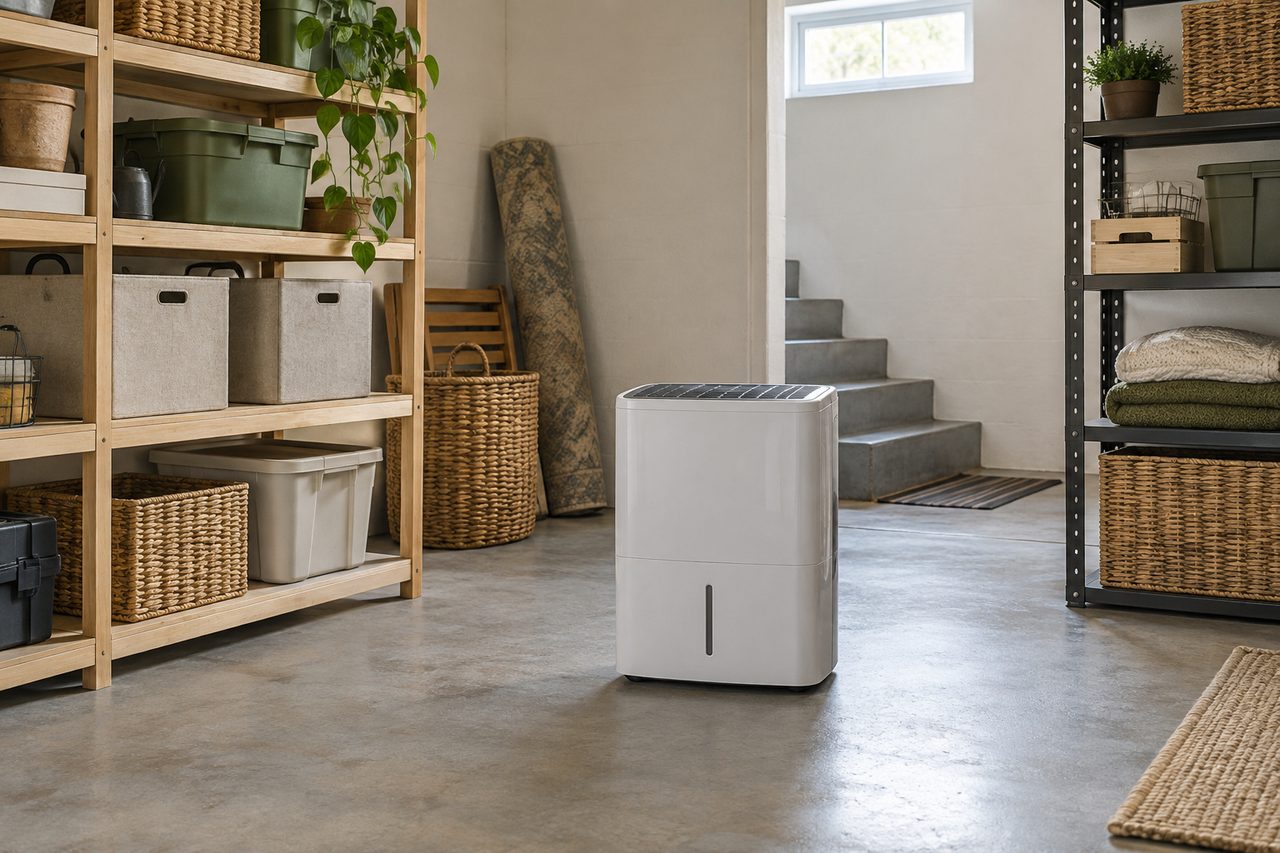
Imagine using the appliance during an ordinary busy week. Can you comfortably reach and empty the bucket? Is there a suitable drain below the outlet? Would the discharge need to rise to a sink or other approved destination? These questions decide whether a basic bucket, a gravity hose or a documented pump arrangement is practical.
A pump adds its own tubing, activation and maintenance instructions. A gravity connection needs a route that actually descends; a loop over a doorway is not gravity drainage. Read gravity drain versus pump before paying for a feature you cannot use. Include the hose route and service access on your floor sketch. Keep water handling separate from electrical cords and connections.
Make an exact-model purchase checklist
Open the manufacturer's manual for the full model identifier, including its suffix. Find:
- Temperature: the operating-temperature range.
- Clearances: the required clearances.
- Drainage: the drainage diagram.
- Electrical: the electrical instructions.
If the seller's title and the manual disagree, stop treating the feature as confirmed. Ask the manufacturer or seller to resolve the mismatch before purchasing, and save the response with your notes.
Our appliance shortlist is a research starting point. Its ratings weigh buyer reviews, the documented specifications and our editors' read of how the models compare. Check the chosen Variant, supplied hose, warranty channel and current seller separately. After installation, keep your original observations and compare later readings under similar conditions. That record is more useful than assuming the lowest possible setting is always the right one.
Work through a realistic buying example
Suppose your notes describe a connected basement, a separate closed storage room and a floor drain near the laundry. Begin with the connected area and measured conditions, then check whether the storage room shares air in normal use. Do not quietly add that room to the appliance coverage assumption just because both spaces are on the same level. Put its separate humidity observations beside the main-room readings. Next, trace the possible gravity hose route from a location that meets the candidate manual requirements. If that route crosses the only walkway, reconsider placement before deciding that a pump is necessary. Compare the additional parts and inspection work for each workable arrangement. Only after those checks should you compare conveniences such as app controls or fan modes. Your final decision sheet should explain why one candidate remains: supported room conditions, an identified manual, usable access and a documented drainage arrangement. Keep a second candidate only if it passes the same checks. This turns a long product list into a defensible purchase decision without pretending that an editorial ranking can replace your installation details.
Our rated picks
The three best-rated models of our best basement dehumidifiers ranking, from the buyer review record and the listed specs.


Product images: Amazon listings
Frequently asked questions
What size dehumidifier do I need for my basement?
Use the ENERGY STAR chart as a starting range: a basement under about 2,000 sq ft starts around 20 to 30 pints a day when damp and up to 50 when wet; a bigger one needs more. Our selection tool does the lookup.
What features matter most in a basement dehumidifier?
A humidistat you can set, a continuous drain (hose or pump), auto-restart after a power cut and auto-defrost if the basement is cool. Wi-Fi is nice to have.
Should I buy a dehumidifier with a pump?
Only if the water has to climb to reach a sink or a window. With a floor drain or a sump pit lower than the unit, a gravity hose is simpler.
References
Independent sources for facts stated in this guide, also linked where the guide states them.
- EPA: A Brief Guide to Mold, Moisture and Your Home · indoor humidity below 60 %, ideally 30 to 50 %; fix the water problem as well as the mold
- ENERGY STAR: dehumidifier buying guidance · capacity in pints per day, the sizing chart, drainage options and lower-temperature models below 65 °F